Are you looking to make your first real puppet? Then this is the perfect project for you! Follow these instructions using simple crafting materials you may already have in your home. Anything you are missing you can pick up locally or in the link provided in the materials list.
And don’t forget to download the free pattern HERE!
With this pattern and instruction you would make a very simple professional style puppet or even use this as a guide for a kids craft project.
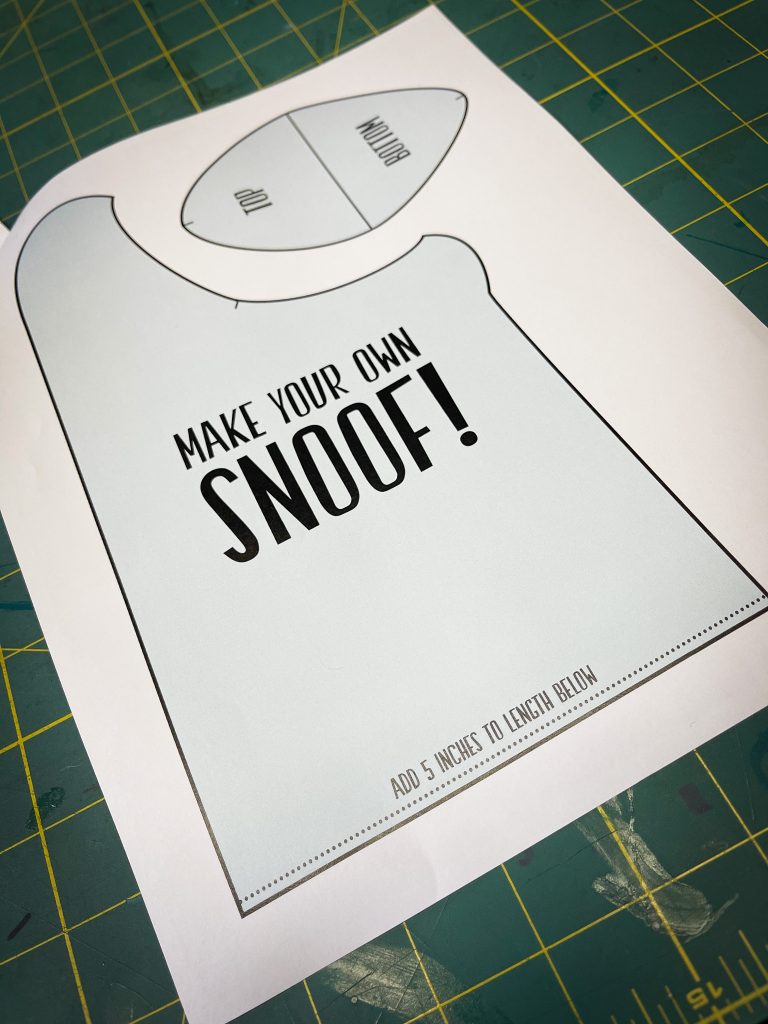
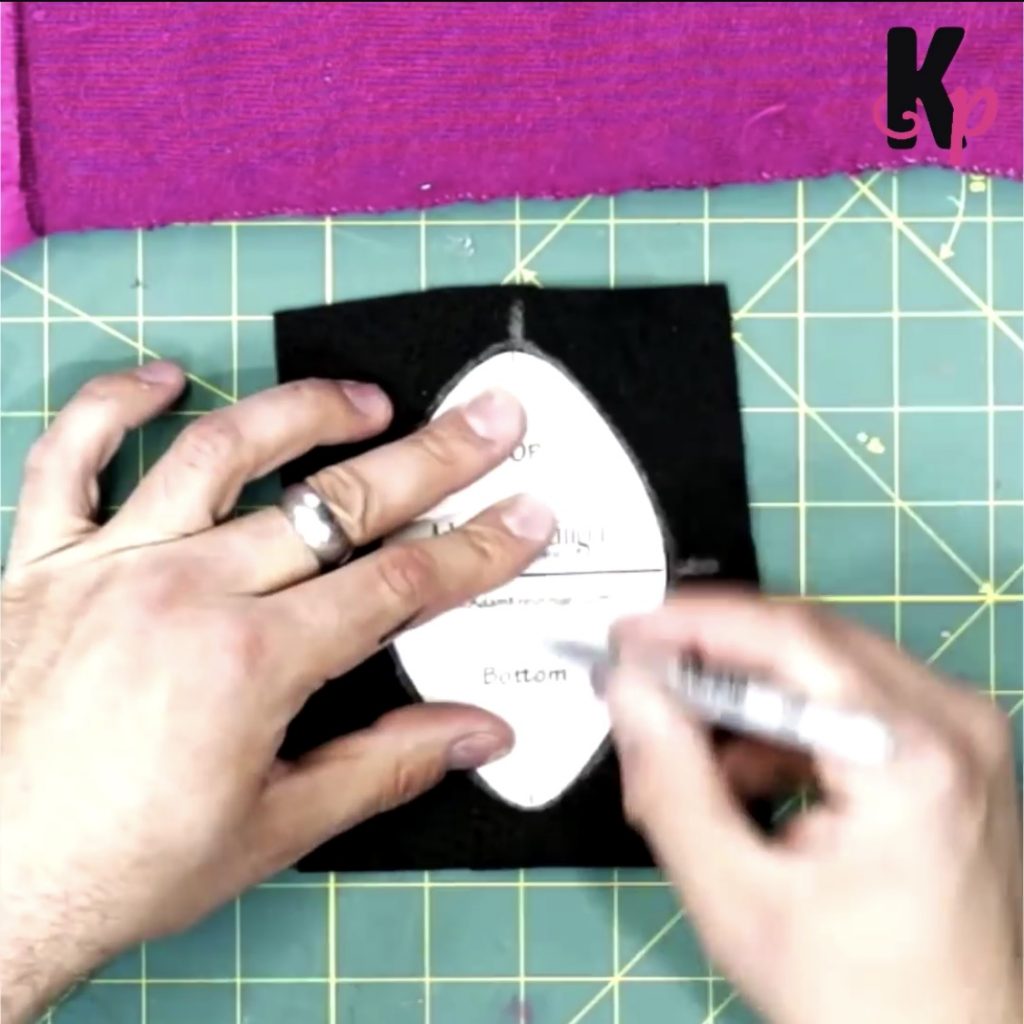
Download printable Snoof Pattern from HERE. After printing the pattern, cut out both pieces. Don’t forget to add 5 inches of length to the bottom of the pattern as labeled.
Lay out your fabric. You can use fleece, felt, or (my favorite) fur!
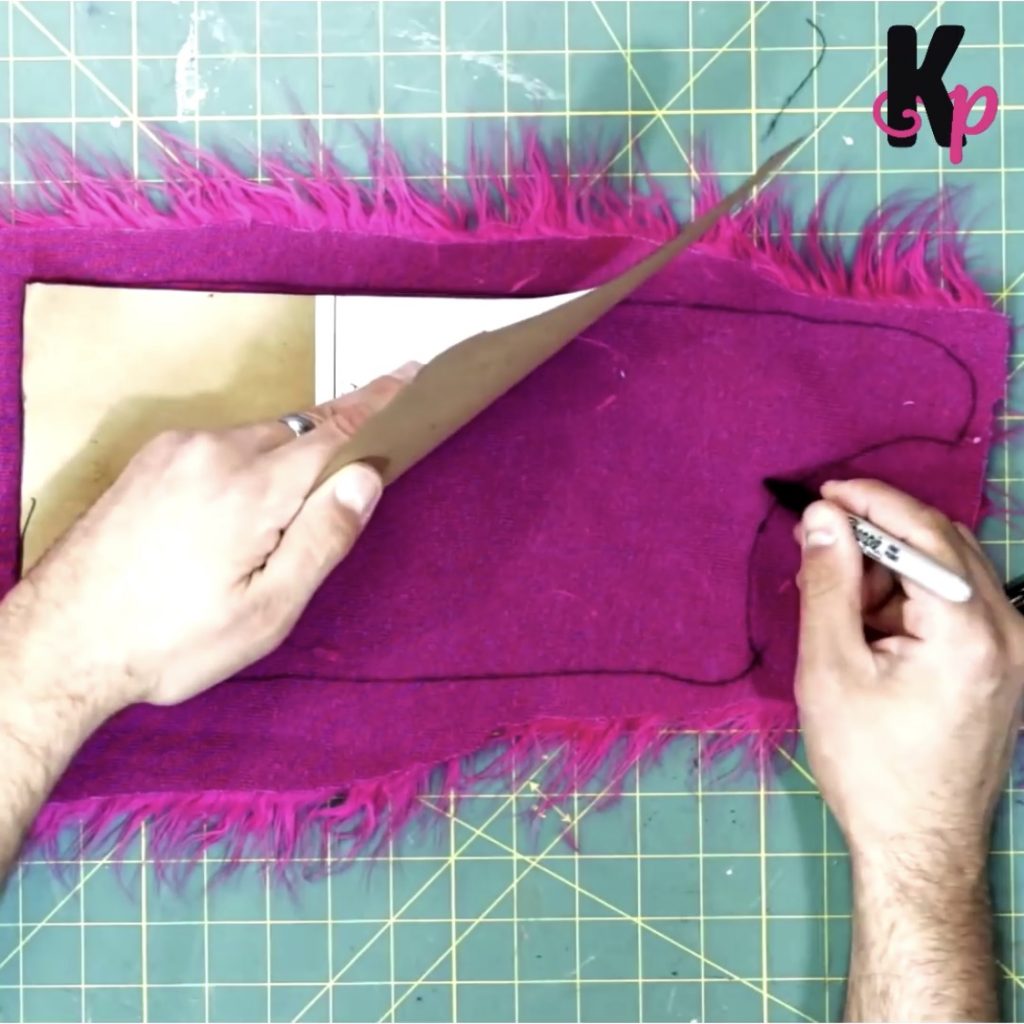
Trace the Snoof pattern onto the fabric. Be sure to flip the pattern when tracing the second half. Also trace the mouthplate pattern on the mouth fabric. Cut out all the pieces.
STEP 3
It’s best practice to use pins to hold the fabric together as a you sew. This will keep the fabric from gathering and help you keep the fabric straight as you stitch together your Snoof Puppet!
STEP 4
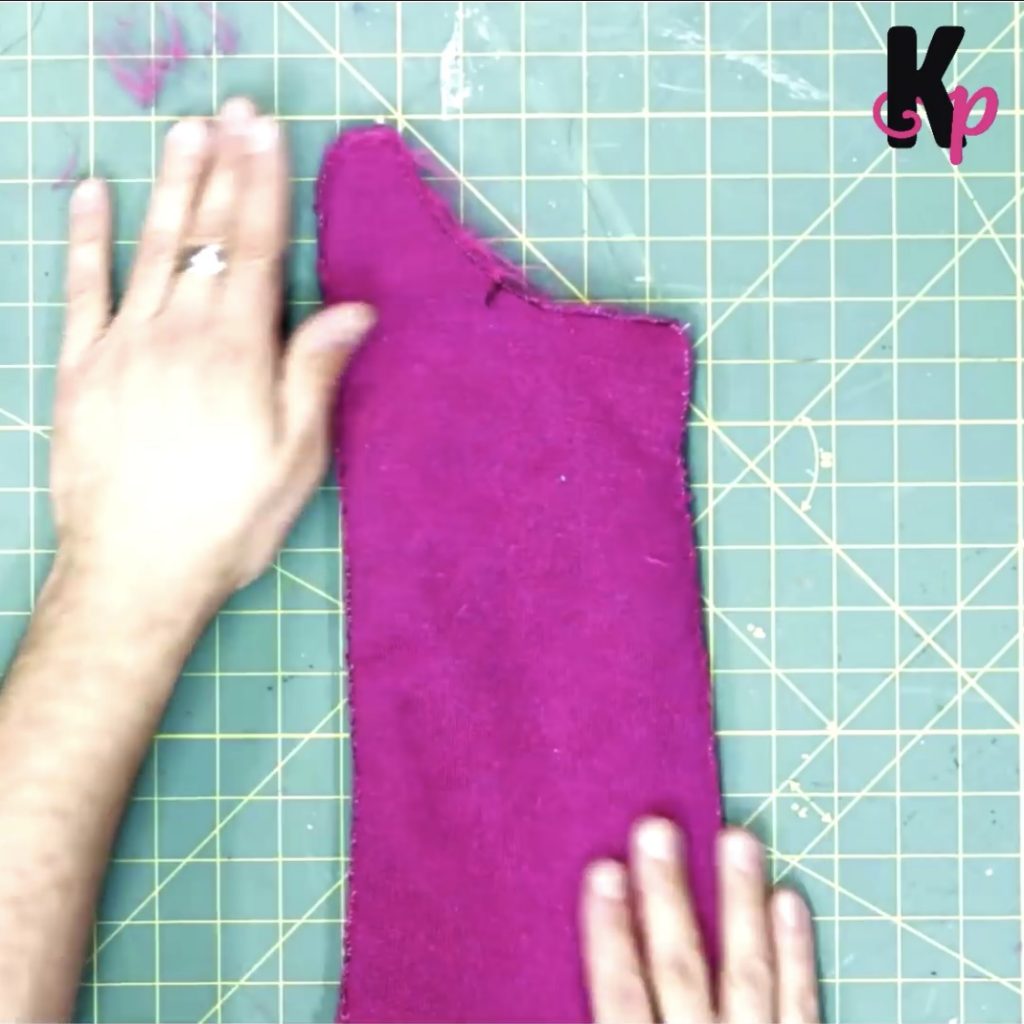
Next, sew up along the back and front edges.
STEP 5
Now, trace and cut the fabric mouth piece out of felt or velvet. Then pin and stitch the fabric mouth piece in place on your Snoof Puppet. For the inside of the mouth, I like to use black or red fabric.
STEP 6
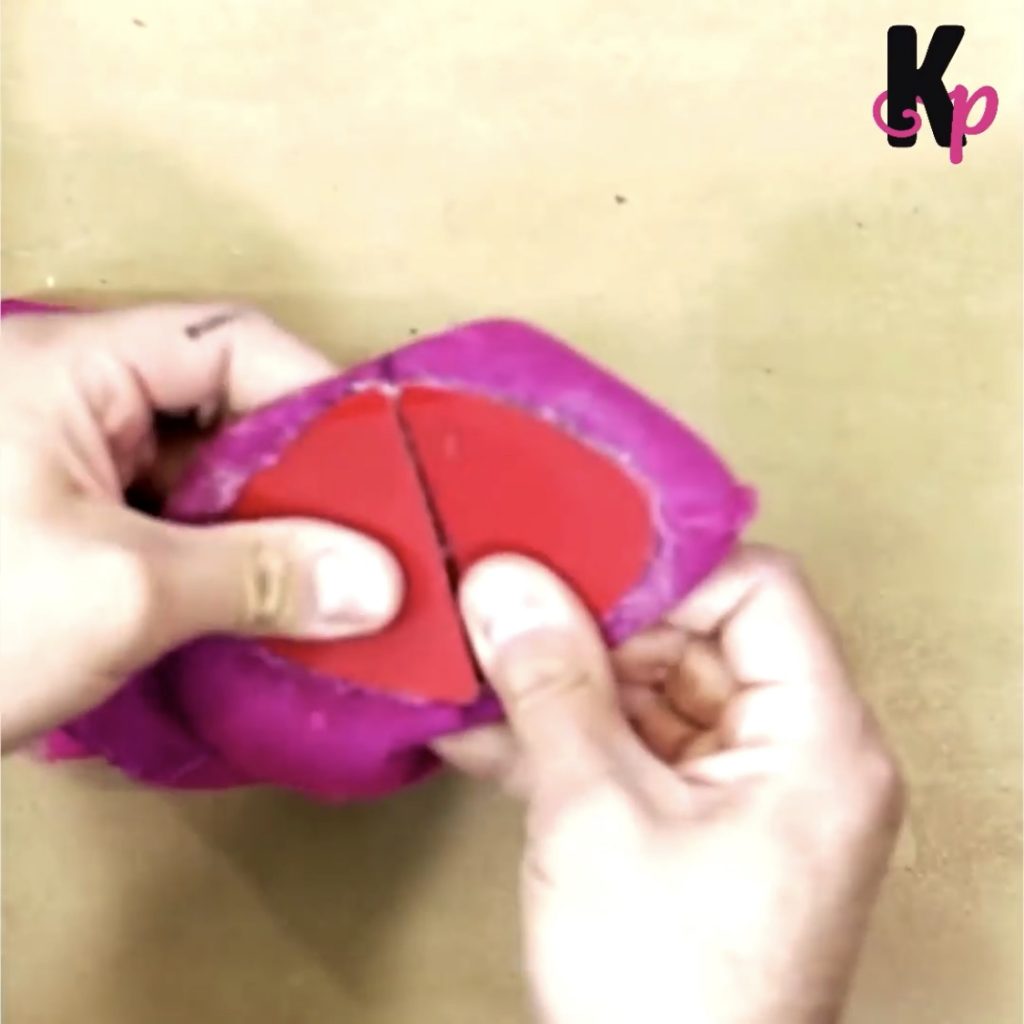
Trace and cut out the mouth plate pattern again onto the 5 by 5 square of craft foam or stiff felt for mouth plate support.
In these photos I am using plastic from a recycled storage bin. This is also a nice choice as it will hold up well during heavy use and last a long time.
Glue the mouth plate support to the inside of the mouth fabric.
STEP 7
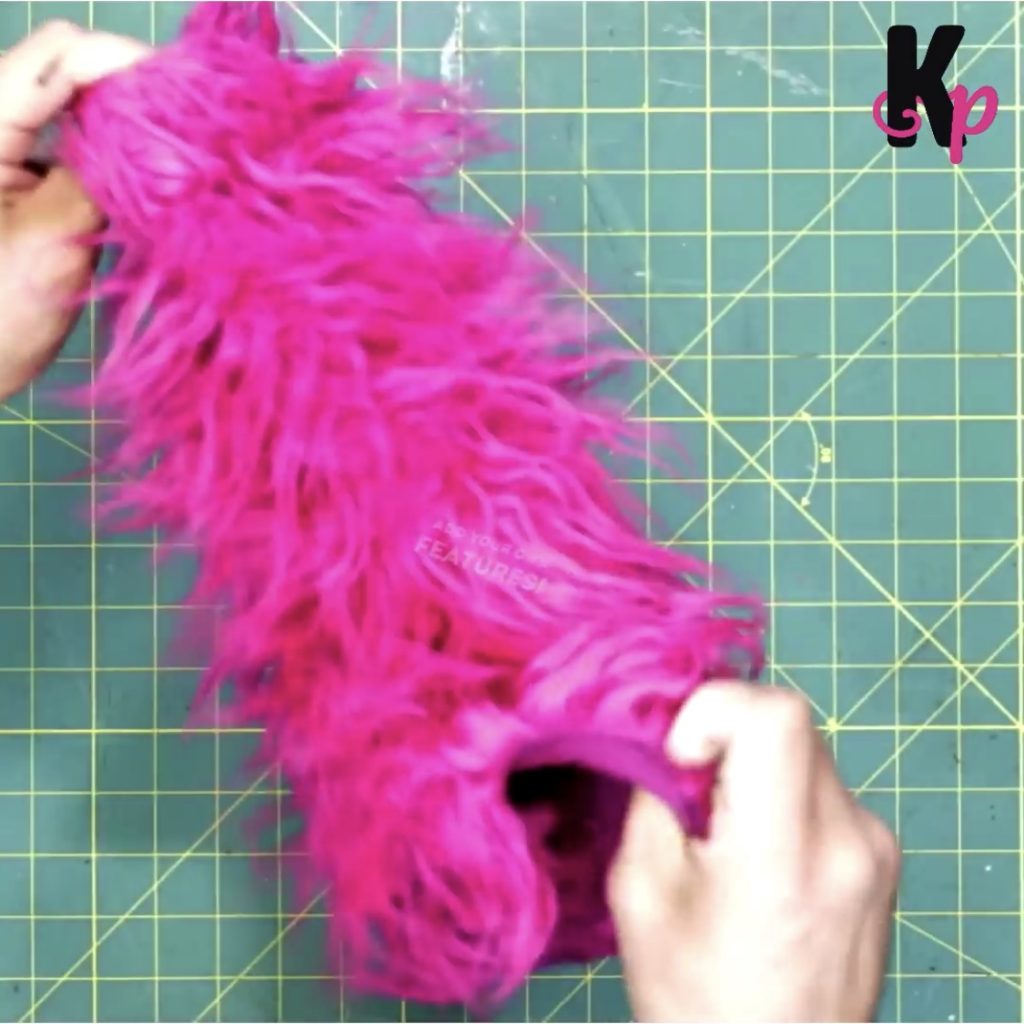
Then turn the Snoof inside out.
STEP 8
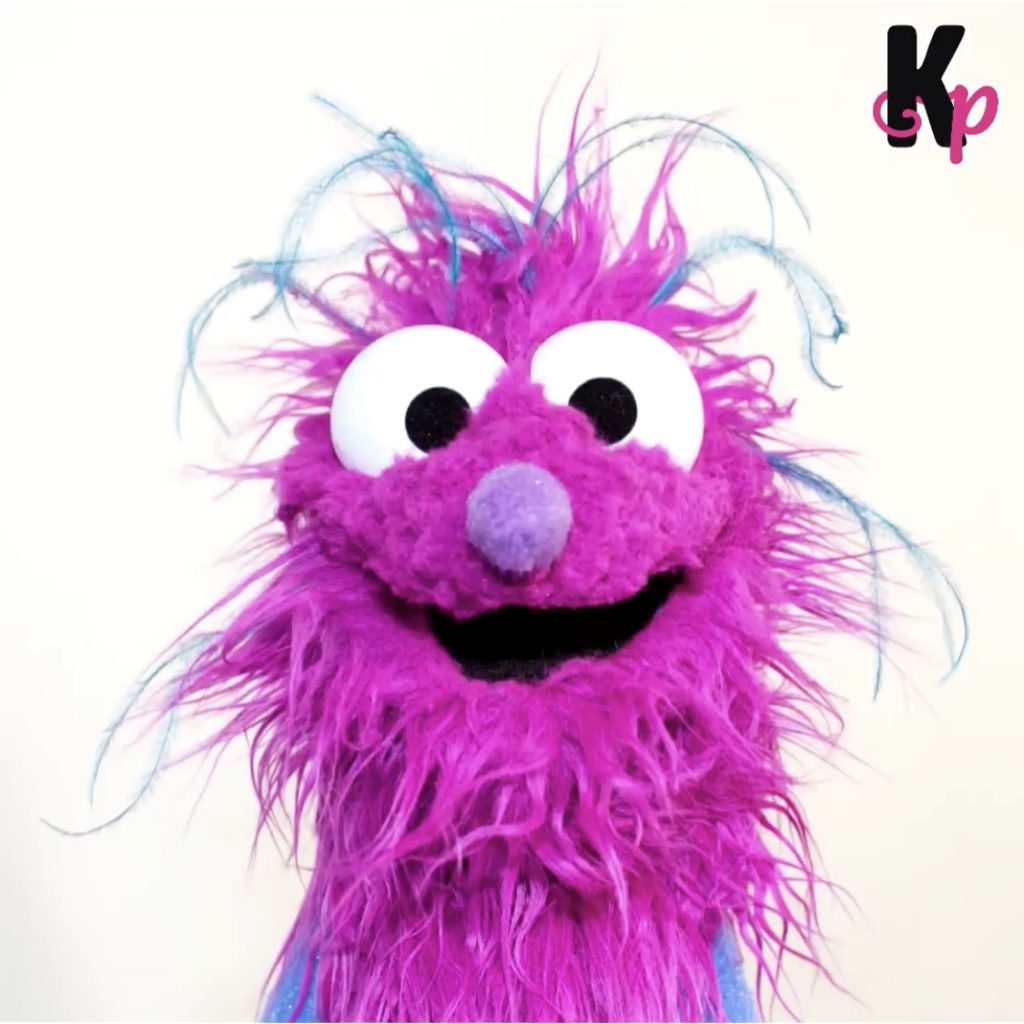
Add features and details! Your snoof could have a nose, eyes, ears, teeth, hair and more!


1 comment
[…] Puppet Builds […]