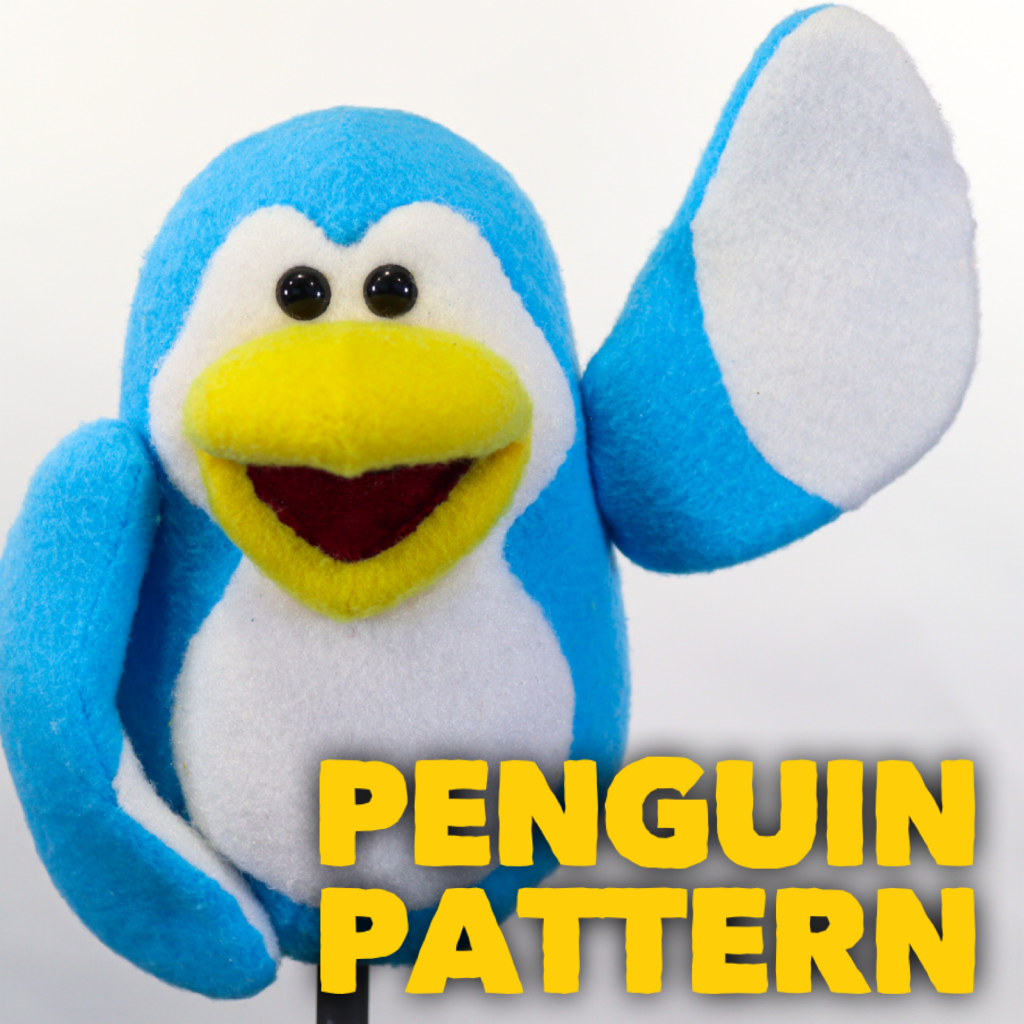
Need a penguin puppet for your next show? Puppet Nerd has your back! IN this DIY tutorial we going going to break down the process on how to put together the Penguin Puppet Pattern.
If you want to learn how to make your own puppet patterns this video breaks it down into easy steps!
But if you want to save time and support the Puppet Nerd Channel, you can order the Penguin Puppet Pattern Here!
Below is a list of the supplies you will need.
Follow along!
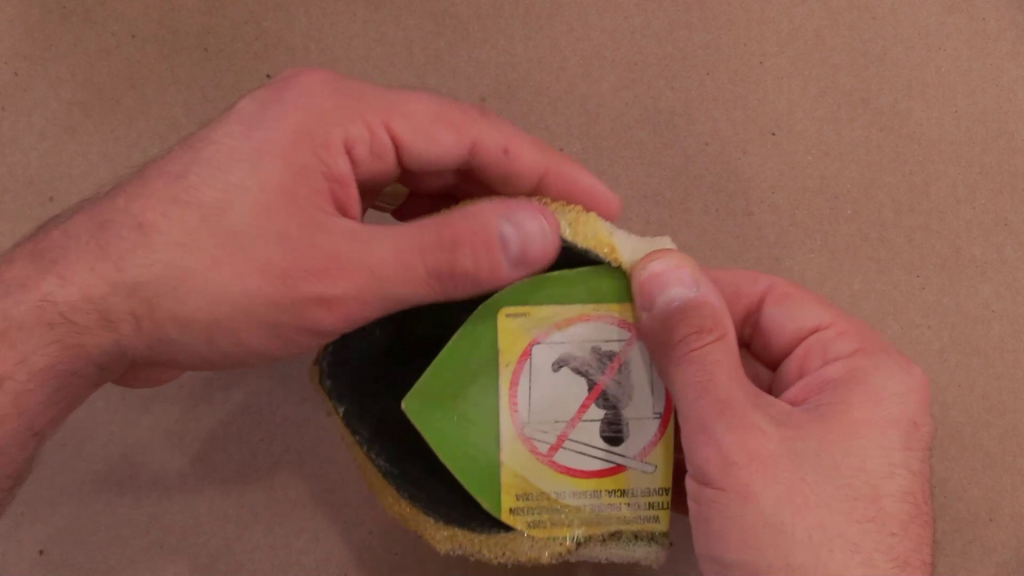
Materials: 3 colors of Fleece (blue, yellow, and white are recommended) ½ inch Reticulated Foam Sturdy Plastic Thin Quilt Batting White Felt Stuffed Animal Eyes Two sets of doll joints Lining Fabric (Optional, Jersey recommended) Arm Rods 4 inch PVC Pipe (Schedule 20 suggested) Felt Velvet (Black or Red)
Equipment: Markers Scissors Razor Blade (Optional) Needle and Thread Contact Cement Spray Adhesive- Super 74 Tin Snips (Optional) Sandpaper FabriTac (optional)
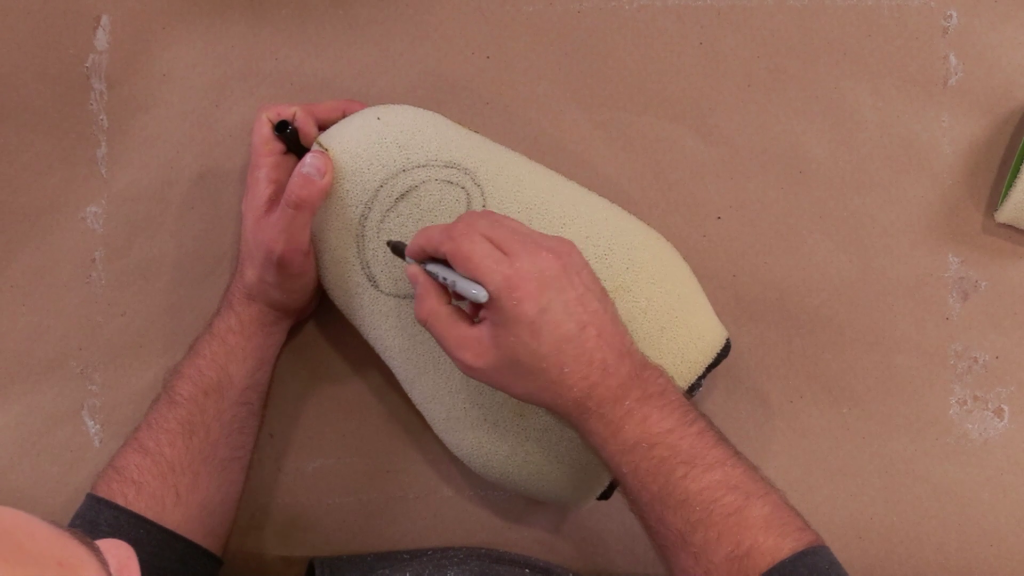
Step 1
Take the foam pattern pieces for the front and back of the penguin and trace them onto the foam. Keep in mind that even though the front and back patterns are similar, they are different sizes so each will need to be traced. Trace out the foam beaks as well and make sure to mark the notches and to transfer any other markings as well.
Figure 1: Pattern pieces traced onto foam
Step 2
This step is optional to pre-line the inside of the puppet. If you don’t want to line the inside of your puppet, skip to the next step.
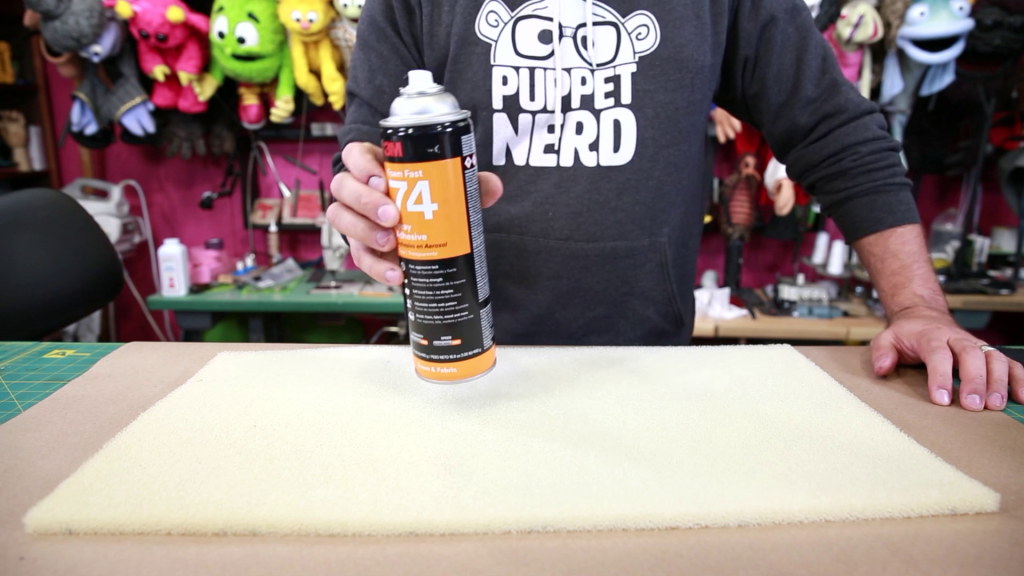
Cut the fabric a little larger than the size of the foam your traced pieces are on. Use the Super 74 spray adhesive to attach the fabric to the back of the foam (the side you didn’t trace). Be sure to use the spray adhesive in a well-ventilated area. When laying the lining fabric down on the foam, make sure to smooth out any wrinkles. For best results, let the glue cure overnight. It will be easier to cut through and will be less likely to gum up your razor blade. If you are in a rush, you can cut it right away if you are careful.
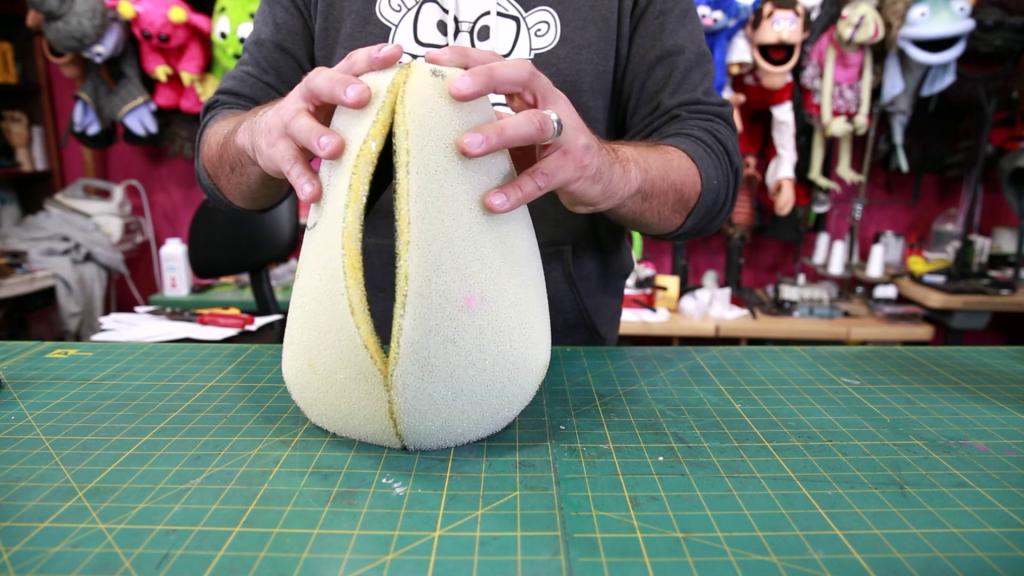
Step 3
Slowly cut your foam pieces out using a razor blade. Make sure to keep the blade as straight as possible so you don’t get a bevel.
Step 4
Now that the foam pieces are cut out, you can cut out the plastic for the mouthplate next. Any kind of sturdy plastic will work; storage bin lids in particular work well for mouth plates. Take the top and bottom mouth plate pattern pieces and trace them onto the plastic and cut them out. Tin snips work well for this step. Lightly sand the edges of the pieces with sandpaper.
Figure 4: Sanding the edges of the mouthplate
Step 5
Apply contact cement to the outside edge of the foam for the beak and around the bottom of the upper mouth plate. Allow the pieces to sit for a little bit to get tacky. Line up the bottom corner of the mouthplate and the foam, then gently roll the outer edge of the foam to the mouthplate to get a rolled edge. You will need to ease the foam, so only roll a little bit.
Figure 5: Rolling the edge of the foam over the mouthplate
Repeat at the other corner. Make sure the point of the beak and the point of the mouthplate are centered. Then, carefully ease (or gather) the foam up to the point on the mouthplate. This process will make it easier for the foam to turn in on itself and will give the beak a cartoony look. Repeat for the bottom of the beak.
Step 6
After assembling the beak, it’s time to assemble the body. Apply contact cement to all of the edges of the foam. After letting it get tacky, start assembling by lining up the darts at the top and bottom of the body. Once the darts have been closed up, put the two halves together. The top darts should be lined up.
Figure 6: Lining up the body pieces
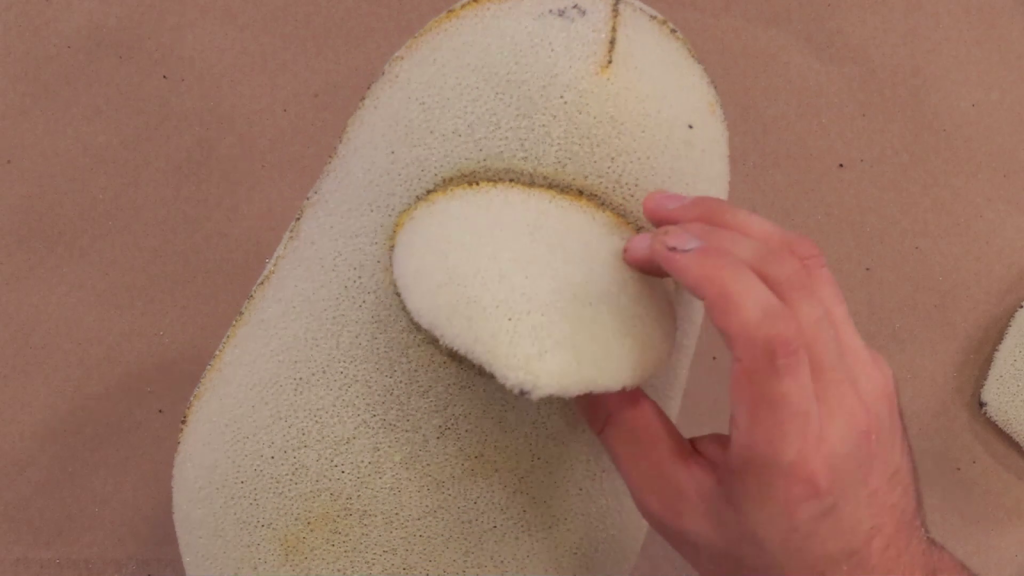
Step 7
Now that the body is assembled, it’s time to move on to attaching the beak. Make sure you have traced the oval onto the foam. The oval is the outside of the glue line. From the oval line measure down a half inch from the inside of the line. If you are using foam that is a different thickness, measure down that amount instead. Carefully cut out along the new inner line.
Figure 7: Marking the cut line
Once the oval has been cut, apply contact cement to the space between the hole and the line on the foam and to the foam opening on the beak. Line up the top of the beak with the top of the outer line and press to attach. Repeat for the bottom.
Figure 8 Lining up the beak with the top of the line
Step 8
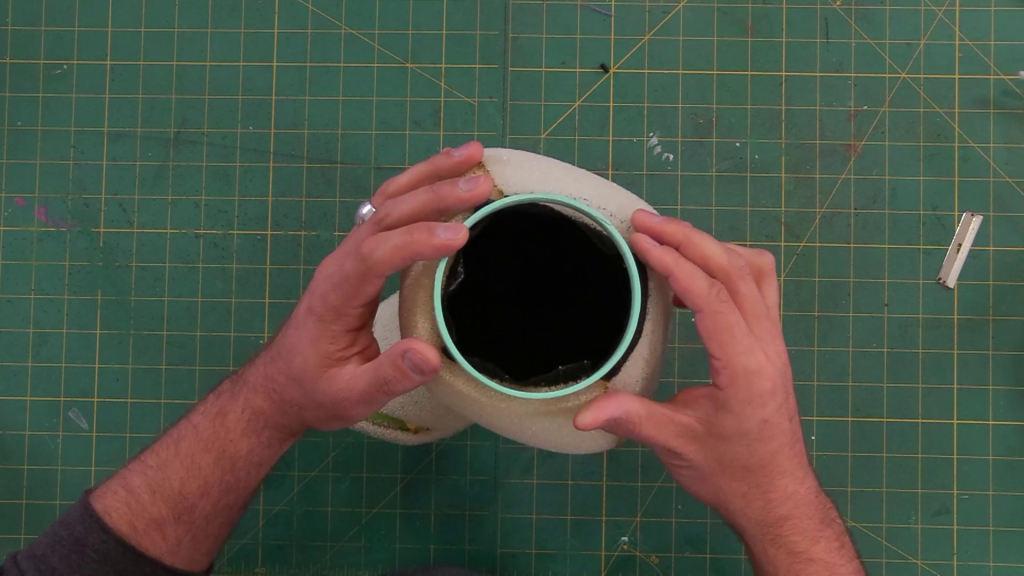
If you want to make the base of your puppet sturdier and give it more form, you can attach a ring made from a PVC pipe to the inside of your puppet. Cut about a half inch off the PVC pipe. To get the ring behind the fabric, cut a small slit in about halfway through the foam to wedge the ring inside of it. Then, apply contact cement to the foam and the ring. Place the ring in and close the foam up around it.
Figure 9: Ring Placement
Step 9
Now that you’re done with the foam, it’s time to move onto the fabric covering. Start with the belly piece. For this use white puppet fleece, quilt batting, and felt. The white puppet fleece will be on the top and the felt will be the back with the quilt batting sandwiched in the middle.
Trace the pattern onto each piece of material making sure to mark the notches. Keep the felt and quilt batting pieces the same size, but add a quarter of an inch seam allowance to the fleece before cutting it out. Pin all of the pieces together making sure to line up the notches and sew using a whipstitch. You will sew the outside edge as well as the center oval. The added seam allowance allows the piece to curve to better fit the body. A dry fit can be done to make sure it fits over the beak.
Click here is you want to learn about the best hand sewing stitches to use for making puppets!
Figure 10: Sewing the pieces together
Step 10
Once you are done with the belly piece, it’s time to make the fabric beak. Trace the pattern onto the yellow fleece twice making sure to flip the piece and mark the notches.
Sew the two pieces together at the top and bottom using a whipstitch. On the top, only sew to the notch.
Figure 11: Traced pattern piece
Step 11
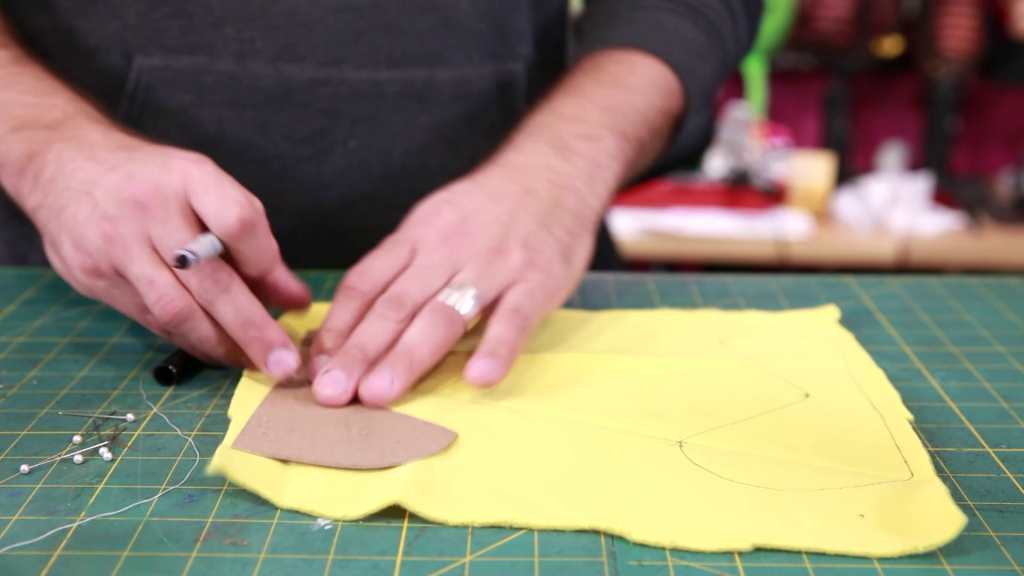
To make the fabric mouth plate, take the velvet and trace the pattern onto it. If the velvet has a stretch, make sure it is going across the mouth plate. Make sure to transfer notches as well when tracing the pattern.
Figure 12: Demonstrating the stretch of the fleece
After cutting out the fabric mouthplate, sew it into the fabric beak. Pin into place first and make sure to line up the notches before sewing. The beak fabric will be a little loose fitting around the mouthplate. Ease the fabric around the mouth plate and add more pins to keep all the fabric in place and to avoid having a gap at the end.
Step 12
With the beak done, it’s time to make the fabric covering for the body. Trace the fabric body pattern onto the blue fleece and then cut out. Once the pieces are cut out, stitch the darts together. Then, stitch the pieces together from the tip of the widow’s peak all the way around the head and down the back.
Figure 13: Indicating the widow’s peak
Step 13
Once the body has been stitched together, it’s time to assemble all of the fabric pieces on the penguin.
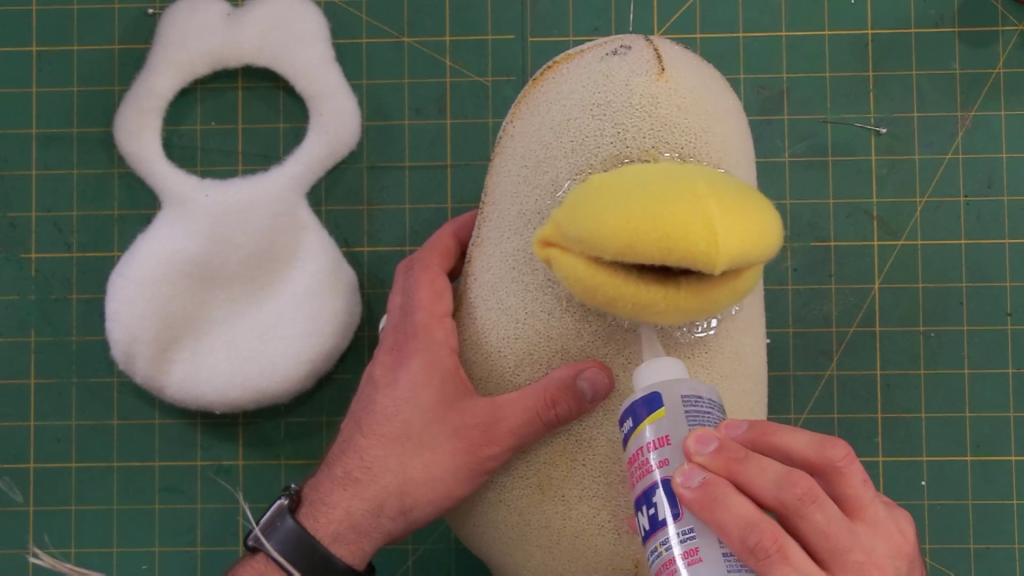
First, attach the fabric beak. To do this, use contact cement along the inside rim of the beak and the outside edge of the fabric mouthplate. Carefully set it in by lining up the notches. Once the mouthplate has been glued into place, roll the rest of the fabric over the beak. Use FabriTac or contact cement to glue down the edge to the rim of the beak.
Figure 14: Rolling the fabric over the beak
Step 14
After the beak is covered, it’s time to move onto the belly piece. This piece will be glued using FabriTac or contact cement to the body just like the beak was. It will be glued around the outer edge and the oval. Apply the glue to the foam around the beak area. Do not apply it to the oval on the fabric piece; it will need to slide over the beak and if you put glue on the oval it will wind up on the fabric of the beak.
Figure 15: Applying glue around the beak
Make sure the piece is lined up the best you can and then gently press into place along the seam. Double-check that the piece is straight and then apply glue to the outer edge of the belly in sections and press into place. Holding it down for a little bit will also help. Allow each section to dry before moving on to the next.
Step 15
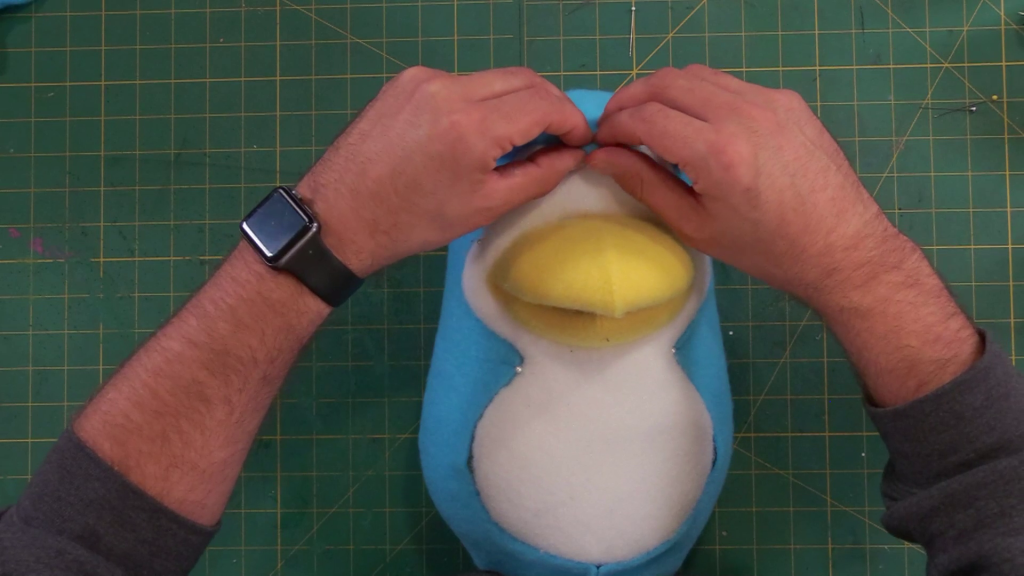
Once the belly piece is glued into place, it’s time to drape the body covering. Line up the top fabric seam with the top foam seam and then carefully wrap around the body trying to keep it even. Make sure to match up the back seam as well and then pin into place. The widow’s peak can be adjusted according to how you want it to look by folding the point back. If you trim the point, make sure to cover the stitch or add a thread stopper to prevent it from unraveling.
Figure 16: Adjusting the widow’s peak
Stitch the bottom center seam using a ladder stitch. Then use a slipstitch to sew around the rest of the body to the white belly piece. Once the body has been slipstitched to the belly. This step can also be repeated for the beak.
Step 16
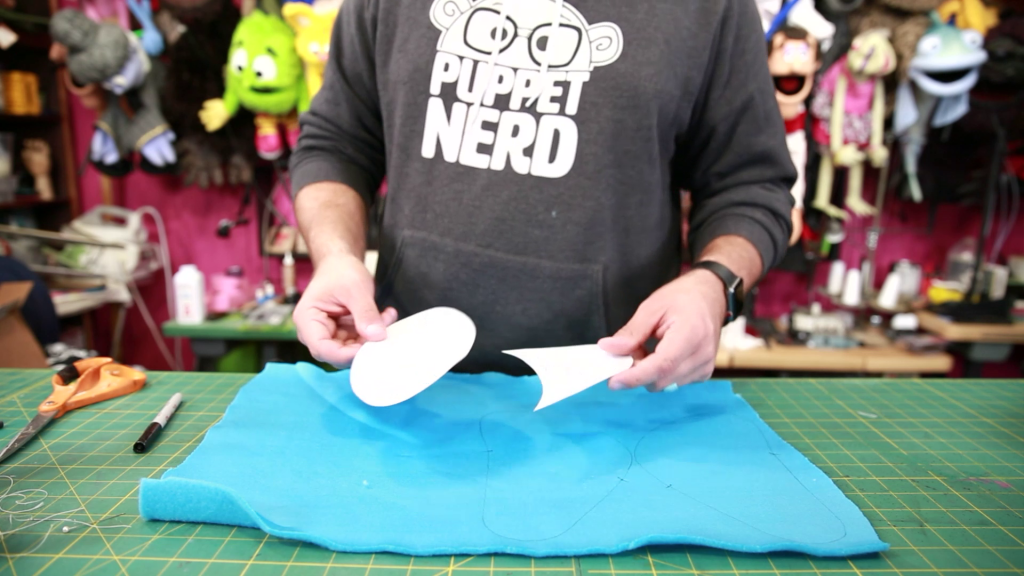
Now that the body is done, it’s time to work on the wings. Trace the first layer onto the blue fleece twice making sure to flip the pattern and transfer the notches.
If you want to make the tip on one side of the wing a different color, cut along the pattern line to divide it into two pieces. Then trace the top of the wing on the blue fabric twice as well. Take the wing tip piece and trace it onto the white fleece. Cut out the pieces. If you plan on sewing these on the sewing machine, add ¼” seam allowance.
Figure 17: The pattern cut into two parts
Step 17
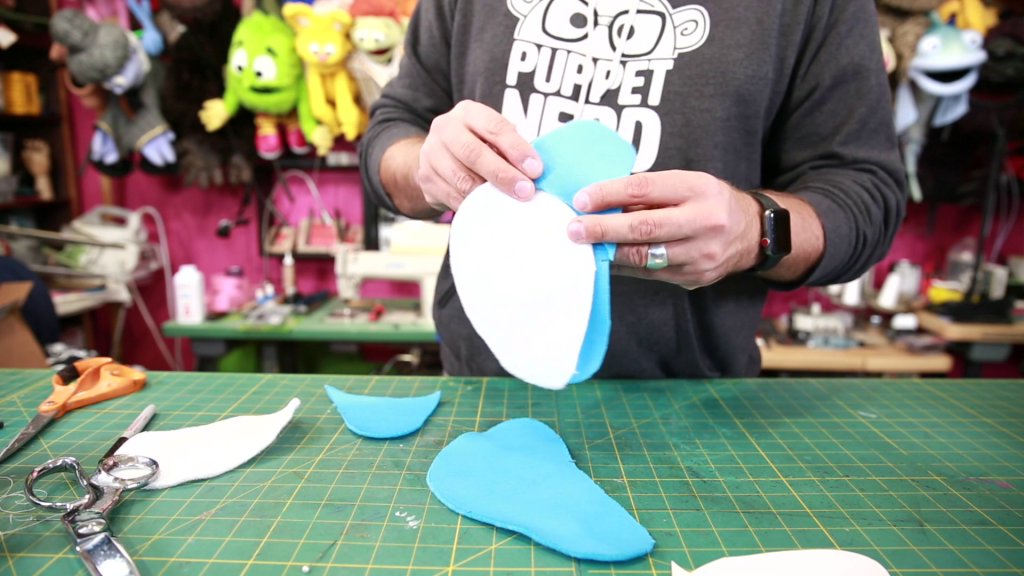
To assemble the wing, sew the pieces together. If you are making a wing with a different colored tip, sew those pieces together first. Then, sew those pieces to the first layer. Make sure to leave an opening (About 2 inches) to turn the wing right side out and to add arm rods. Repeat for the other wing.
Figure 18: All the pieces of the wing
Step 18
After creating the fabric covering for the wings, it’s time to create the foam part. Trace the foam wing pattern onto the foam twice and cut out the pieces.
Figure 19: The wings traced onto the foam
Step 19
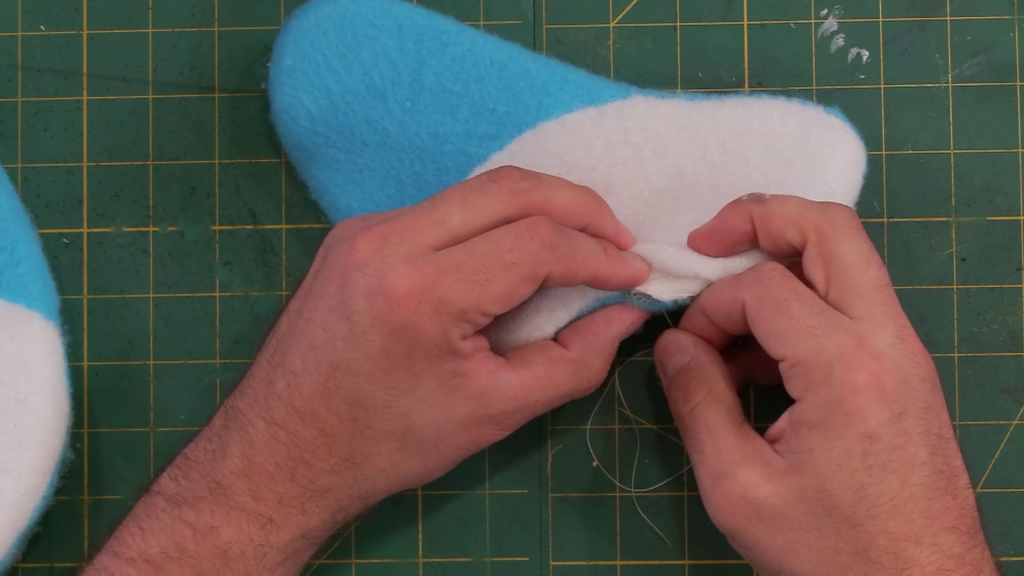
Before inserting the foam into the wing, you will need to make a small pocket for the arm rods. To do this, take a small piece of scrap fleece (about 3 inches by 1 ½ inches) and fold in half. Sew along the two open short sides making sure to leave the long one open. Then, glue one side of the pocket down on the foam. Place the foam on top of the fabric wing to check placement and line it up with the opening. Leave about ¼” peeking out to make it easier to stitch around the edges. Repeat for the other wing.
Figure 20: Arm rod pocket placement
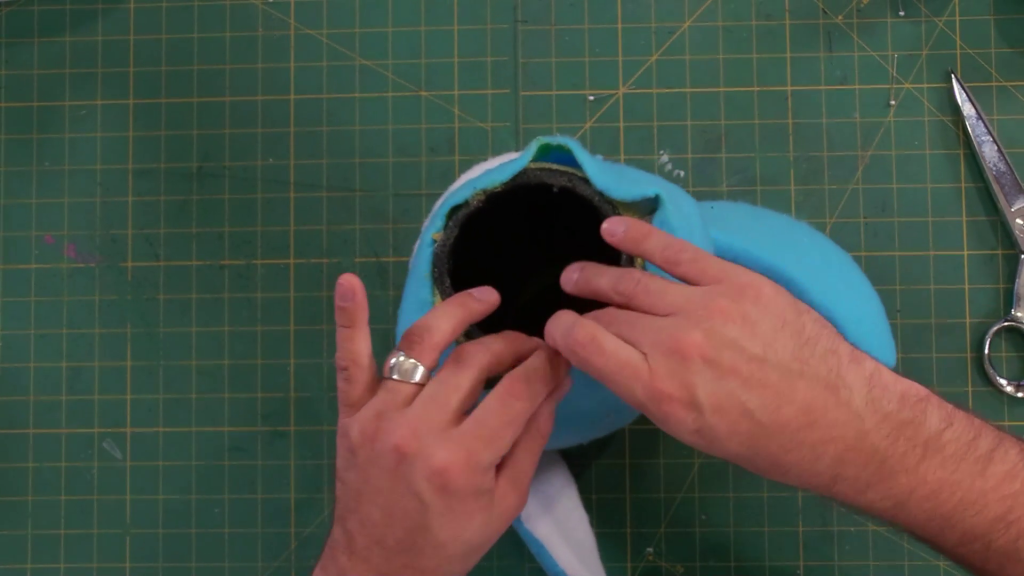
Step 20
Turn the fabric wing piece right side out through the hole. Stuff the foam in as well. After the foam has been stuffed in, take the washers (the flat piece) for the doll joints and place one in each wing. Stitch the opening closed making sure to stitch around the pocket for the arm rods.
Figure 21: Stitching around pocket
Step 21
To attach the wings to the body, first figure out where you want to place them. The placement is up to you; they can be high up on the body or a little lower. A recommended spot is just below the beak on either side of the body. Once you have decided on a position, mark it with a straight pin and repeat on the other side trying to keep it as symmetrical as possible. Then, take an Xacto knife and poke a small hole through the fabric and foam. Poke the peg side of the doll joint through the hole. Wiggle the washer in the wing up to the top and poke a hole through the center there as well. Attach to the puppet.
Figure 22: Suggested placement of washer
Step 22
After the wings are attached, it’s time to finish the bottom. To do this, apply Fabritac or contact cement to the fabric and foam at the bottom and pull the fabric over the edge.
Figure 23: Rolling the fleece over the bottom
Step 23
There are a variety of ways to add eyes to your puppet. One way to add eyes is to use ones that are made for stuffed animals, but you can use almost anything to create eyes. If they are flat on the back, apply contact cement to the back and put in place.
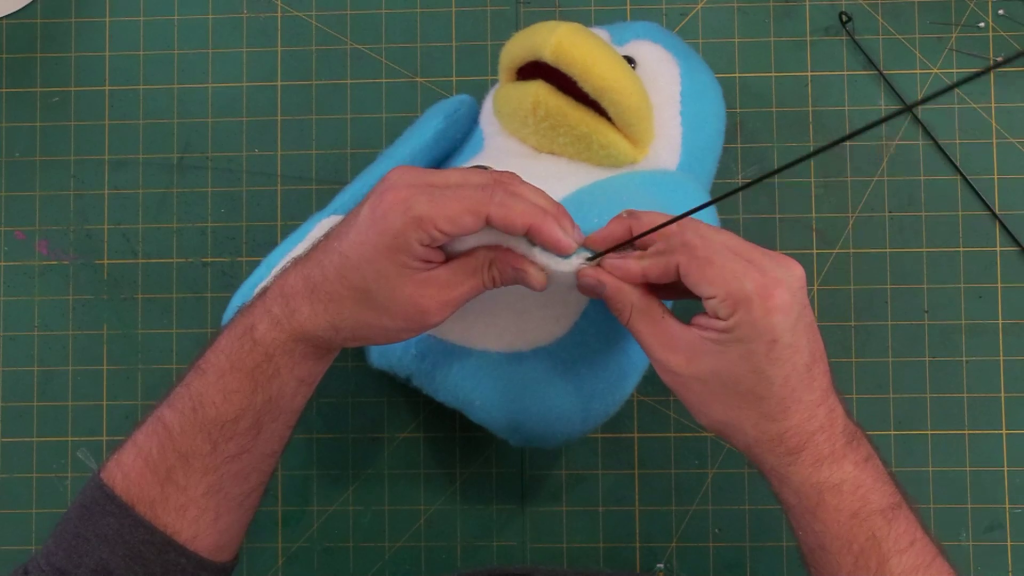
If you want to attach arm rods, put the tip of the arm rod in the pocket of the wing. Then use a flat head straight pin to keep the pocket shut. Push the pin in and then out at the opening and it should keep the rod in place. This can be done for both wings or you can pin the other wing to the body if you only want to control one at a time.
Figure 24: Pinning the rod into place
And with that, you have finished the penguin puppet!